

Like millions of others around the globe, I installed Snow Leopard (Mac OS X 10.6) as soon as I got it. Because I have several computers, I bought the Family Pack. And because I have several computers, I immediately targeted the machine that had the least amount of data on it. If something went wrong, I wanted minimal risk.
Do note that Snow Leopard requires an Intel-based Macintosh. All those old Mac user jokes that Intel means it is “less than half of intelligence” no longer apply; if you want to use Snow Leopard, you need one of Apple’s newer Macs that use an Intel processor. You also need a gigabyte or more of memory, at least five gigabytes of free disk space (much more is always much better), and a DVD drive. In short, virtually every Intel-equipped Mac ever made is capable of running Snow Leopard.
If you are upgrading, you also want to make sure that your Mac is in perfect health. Empty the trash, launch Disk Utility and use the First Aid tab to Verify Disk and make sure there are no directory problems, and, if you have a Mac laptop, make sure it is plugged into power.
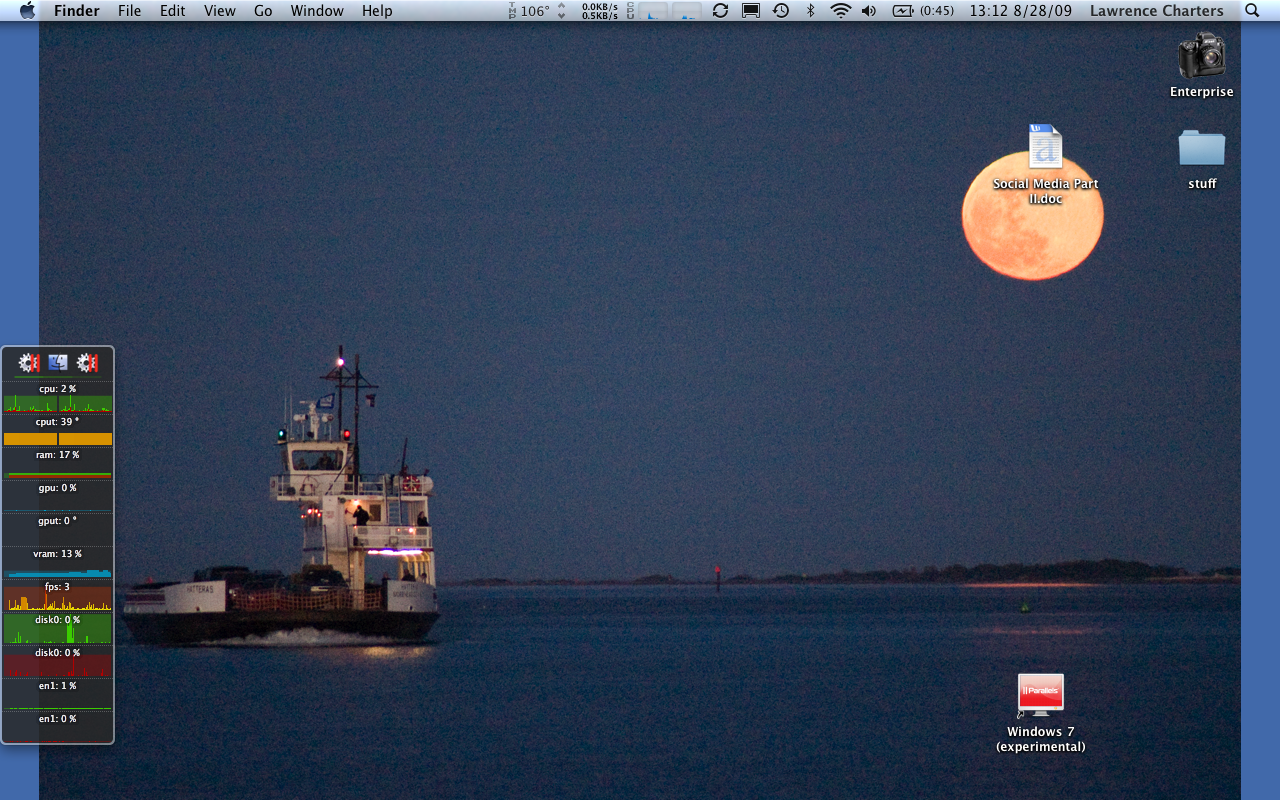

The first screen shot shows the desktop of the machine prior to installing Snow Leopard. The second screen shot shows the same machine after installing Snow Leopard. A careful analysis will show they look the same, with two minor changes: there is slightly under an hour’s difference in time shown in the top menu, and iSlayer’s iStat Menu icons have been replaced with atPurpose Technologies’ atMonitor icons. iStat Menu, at the time of this writing, is not compatible with Snow Leopard.] Click on illustration for larger version.
Insert the Snow Leopard DVD into the drive and you are greeted with the typically stark Macintosh install choices. The spiffy Snow Leopard install icon is the obvious thing to click, so – bypassing the directories titled “Optional Installs” and “Instructions,” the installer was launched.
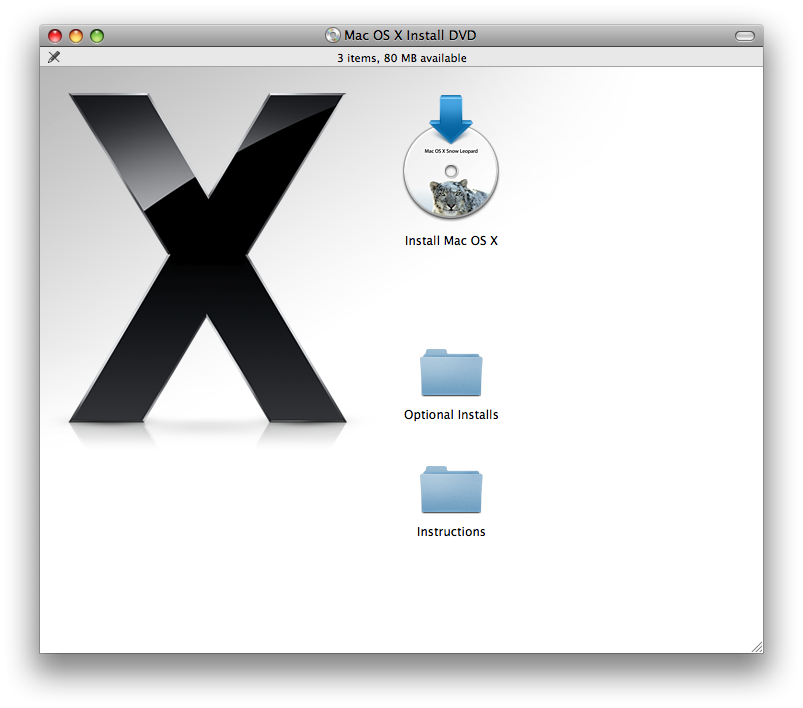
Yes, I could have read the Instructions and I could have investigated the Optional Installs directory – but I didn’t.
The opening screen suggests you Continue if you wish to install Snow Leopard. A button in the lower left corner called Utilities looked interesting, so I pressed that, instead.
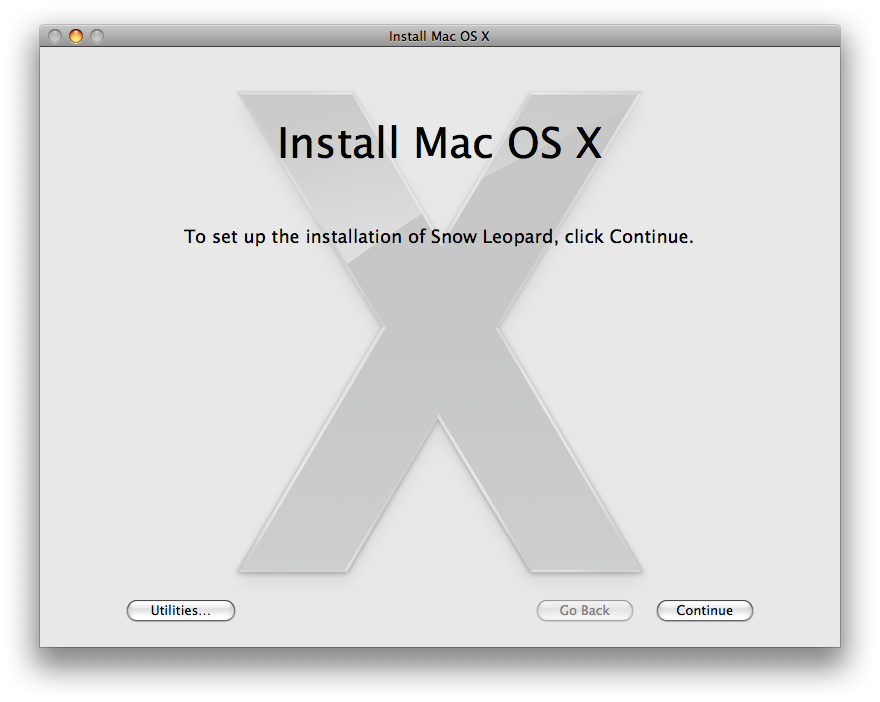
The opening screen of the installer doesn’t give you many choices: you can Continue to install Snow Leopard, or look at the Utilities.
As expected, the Utilities button explained that I could restore my machine with Time Machine (everything was backed up, so this was not necessary), repair the disk using Disk Utility (already checked; not necessary), or “perform other tasks using utilities.” Nope, I wanted to install Snow Leopard, so I went back a screen.
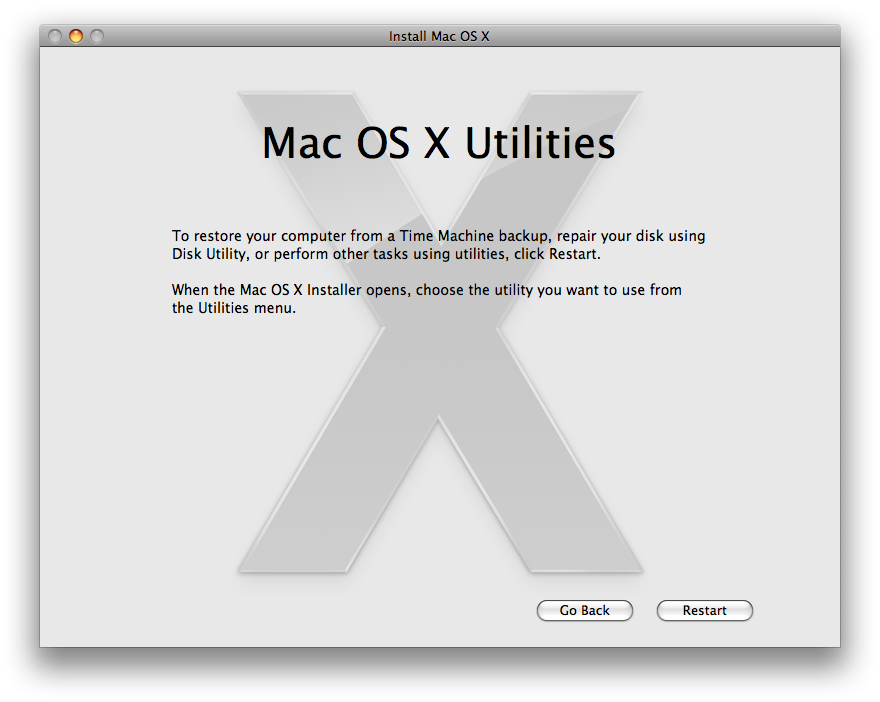
Recognizing that an operating system install disc can be used for other purposes, Apple has now built-in some guidance on the other uses for an installation disc.
In my case, I wanted to install Snow Leopard on “Enterprise,” the name of the target machine (I’d just seen Star Trek), and the installer not only confirmed that this was the next step, but included the custom icon I’d pasted on the disk drive. Cool. A Customize button in the lower left allows you to select what parts of Snow Leopard you wish to install.
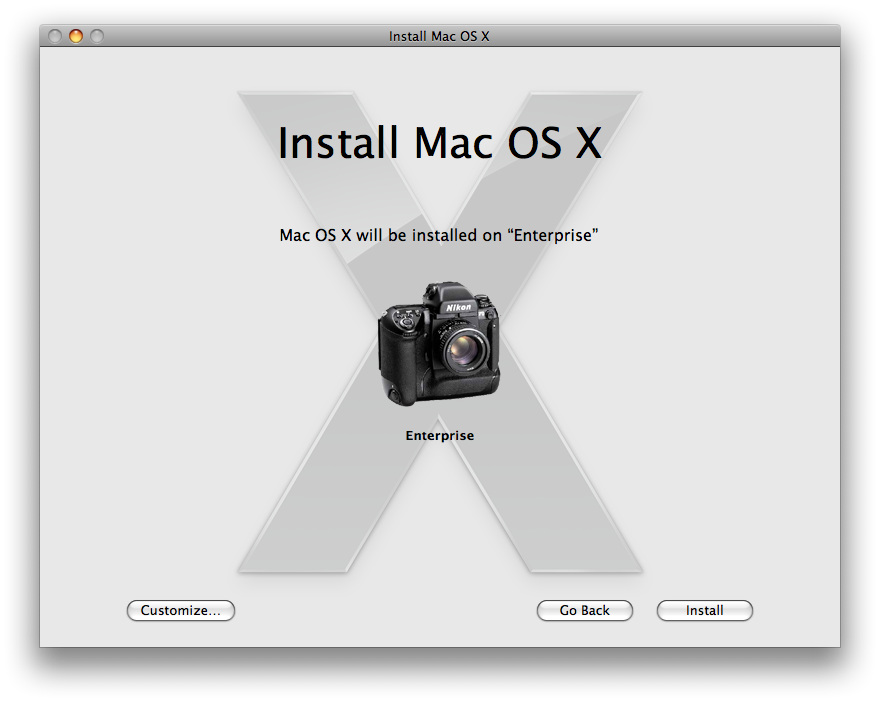
The Snow Leopard installer gives you a screen confirming where it will install the operating system, complete with the volume name and icon, or custom icon, of the drive.
If you press Customize, you’ll be offered a menu of items that will be installed by default. Generally speaking, ignore this menu and go with the defaults. If you insist on twiddling, I’d recommend unchecking X11 and checking Rosetta.
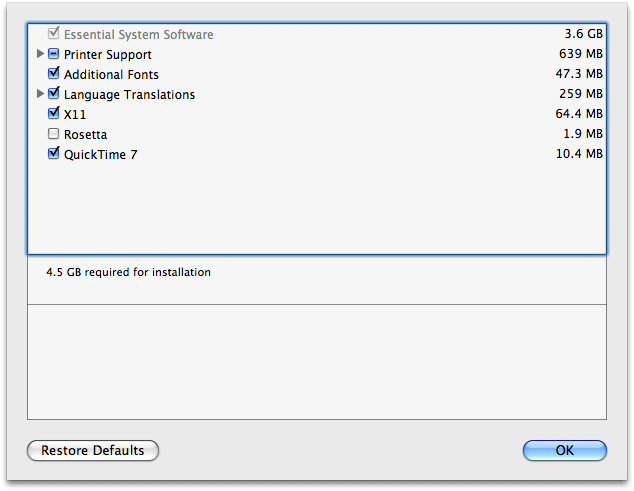
Snow Leopard installation defaults. Most users should just accept the defaults. While Snow Leopard installs QuickTime 10 by default, this screen shows that QuickTime 7 may be installed as an optional addition.
Finally, one last warning screen pops up reminding you that you are installing Snow Leopard, in case you forgot while clicking all the optional buttons. If you don’t click all the optional buttons, it takes less than a minute to get to this point. Click “Install” and then do something else for an hour.
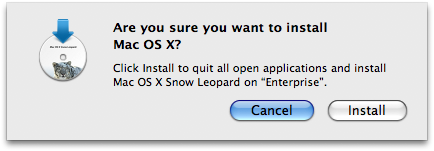
The Snow Leopard gives you one final warning before it installs the operating system. It also warns you that it will close all open applications before doing anything, so press Install and do something else.
Snow Leopard then spends a long time checking the DVD and making sure it isn’t defective before it installs anything. The time spent checking the DVD will vary with the speed of your optical disc drive; the faster the drive, the shorter the wait. In my case, the entire process – from removing Snow Leopard from the box to booting up after it was installed – took less than an hour. Once it is completed, Snow Leopard reboots the machine, plays a nice animation (virtually identical with that shown after a Mac OS X 10.5 installation), and presents a Thank You screen suggesting you can back up your computer, browse files, send E-mail, chat, or organize your work. Note that work, itself, is not listed as an option.
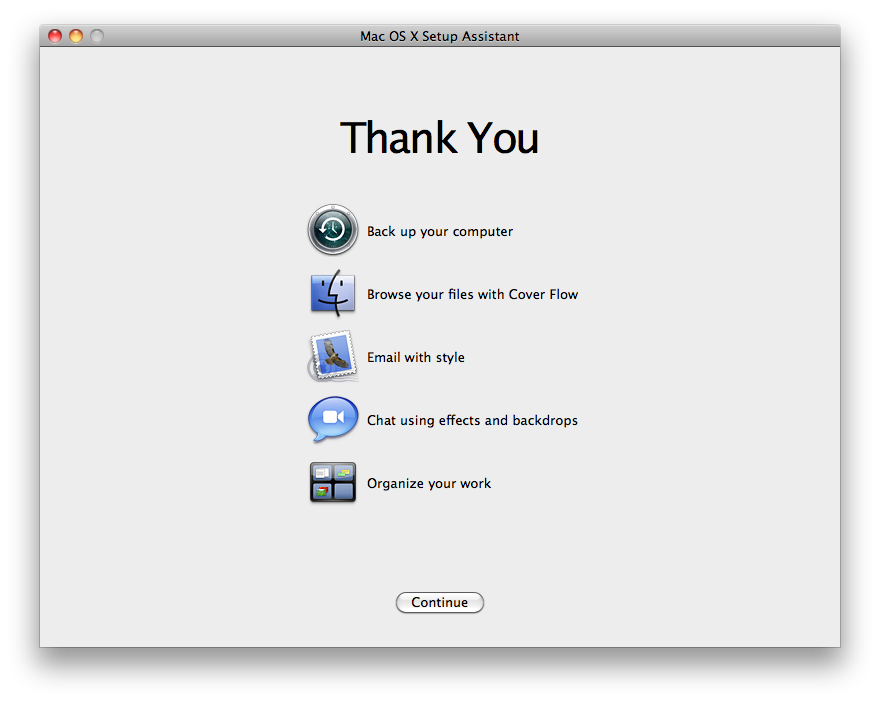
After installation and a welcoming video clip, this screen thanks you and suggests things you can do.
We pause now for an explanation of Rosetta. You may recall that Rosetta was listed as an optional install for Snow Leopard. What is Rosetta? Aside from being a spectacular stone monolith in the British Museum in London, Rosetta is a software translator that allows Intel-based Macs to run programs originally created for PPC-based Macs. Apple probably decided to make this an optional install since new Mac users will probably buy new programs that don’t need Rosetta, or possibly because few Mac users need to translate between Egyptian hieroglyphs and ancient Greek.
In any event, the very first thing I did after booting Snow Leopard was launch atMonitor, a free utility which shows you the load being placed on your Mac’s CPU, RAM, disk, network ports and graphics cards. As expected, Snow Leopard popped up with a warning that it needed to install Rosetta; would I like to do so?
I’d removed the Snow Leopard disc from the drive, but Snow Leopard quickly grabbed Rosetta from Apple’s Web sites, silently installed it, and launched atMonitor. And since Rosetta is now installed, it won’t be necessary to do this again. It was all very elegant, quick, and civilized.
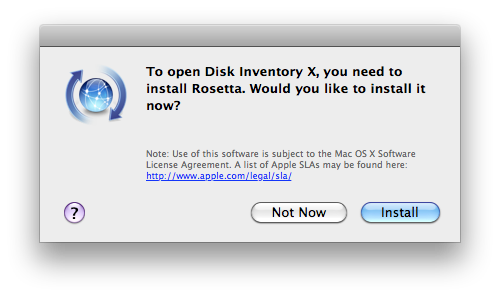
If you try and run a program written for PPC computers (i.e., Macs without Intel processors), this warning pops up and offers to download Rosetta. Since the Rosetta stone weighs about 1,700 pounds, you’ll be amazed at how quickly it downloads to your Mac.
Elegant, quick, and civilized is a good capsule synopsis of Snow Leopard. For the most part, it looks and acts just like Mac OS X 10.5 Leopard. But because it is optimized for the Intel processor, it takes up far less room on disk, it is significantly faster at almost all tasks, and there are small little touches here and there that make it even easier to use.
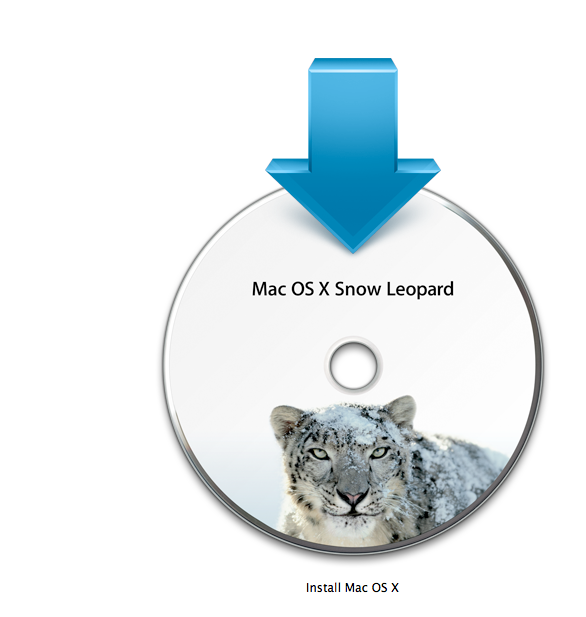
Snow Leopard icons can be much larger than in previous versions of Mac OS X. This is the full-size icon for the Snow Leopard installer; the detail is very impressive. Click for full size version.
Now, why is Snow Leopard spectacularly boring? The installation involved no drama, no angst or anguish, no cliffhanger moments, and no effort on my part. Post-installation, the upgraded machine is faster, as promised, and the promised features work as advertised. There is a 73 page “Welcome to Snow Leopard” PDF on the install disc that I may get around to reading some day.
Maybe. But I’d rather play with my new kitty.